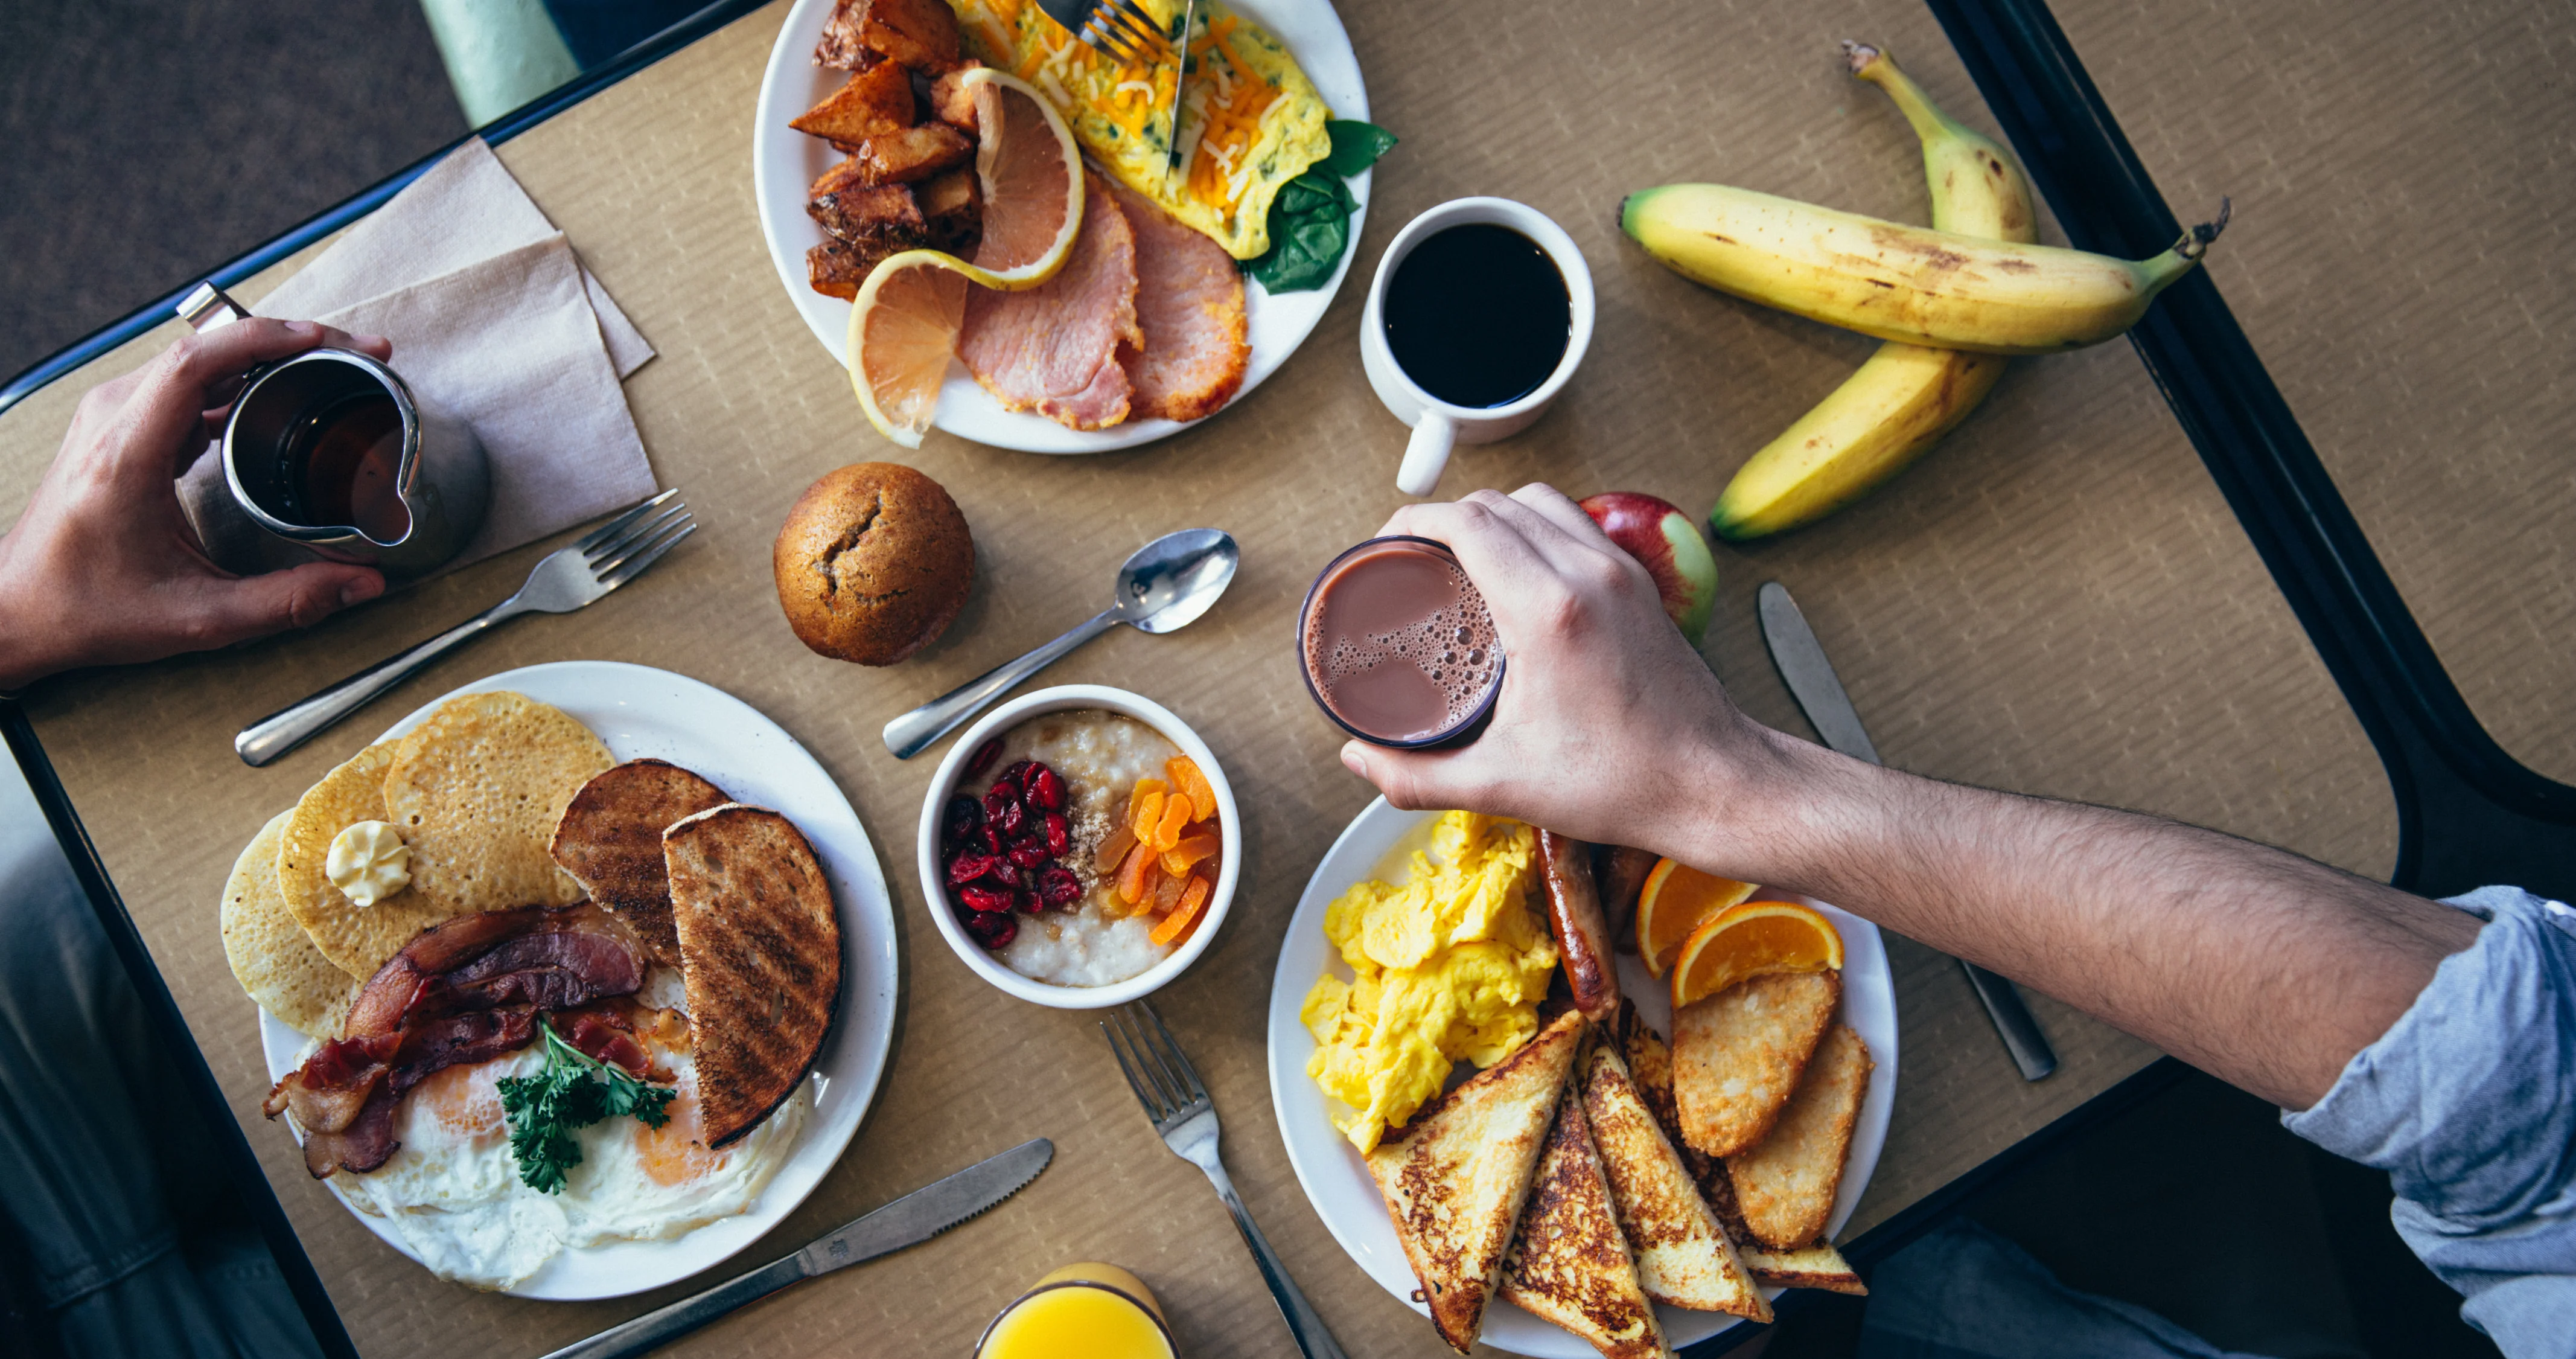
Taking great food photography doesn’t have to involve hiring a professional photographer or purchasing expensive equipment. Professional-looking photographs can be shot by beginners on something as simple as an iPhone. Here’s how.

Businesses like restaurants, food trucks, bakeries, grocery stores and more thrive on the strength of their food photography. That’s why it’s so important to make sure that the quality of your food photography meets the standards that customers expect.
But taking great product photography of food doesn’t have to involve hiring a professional photographer or purchasing expensive equipment. Professional-looking photographs can be shot by beginners on something as simple as a smartphone camera app. Below are our top food photography tips!
How to take pictures of food
- Prepare your food to be photo-ready: Arrange your food to show-off its best features. Choose complementary surfaces and cutlery. Plate the main subject of your photo in the middle of your plate and leave room on the edges.
- Get the lighting right: Light from the side, rather than the front. Use natural light whenever possible, softer light when not. Watch for harsh shadows.
- Experiment with framing: Try photographing from different angles. Use warmer, more appetizing colors that are true-to-life. Use depth-of-field to focus on the most appetizing aspects of your photo.
- Edit your food photos like a professional: Sharpen your image. Adjust the white balance to negate cooler colors and bring out warm ones. Increase contrast, brightness, and saturation, but only slightly.
- Don’t be afraid to get creative: Rules are made to be broken. A unique angle, perspective, color palette, or composition can help make your food photos stand-out.